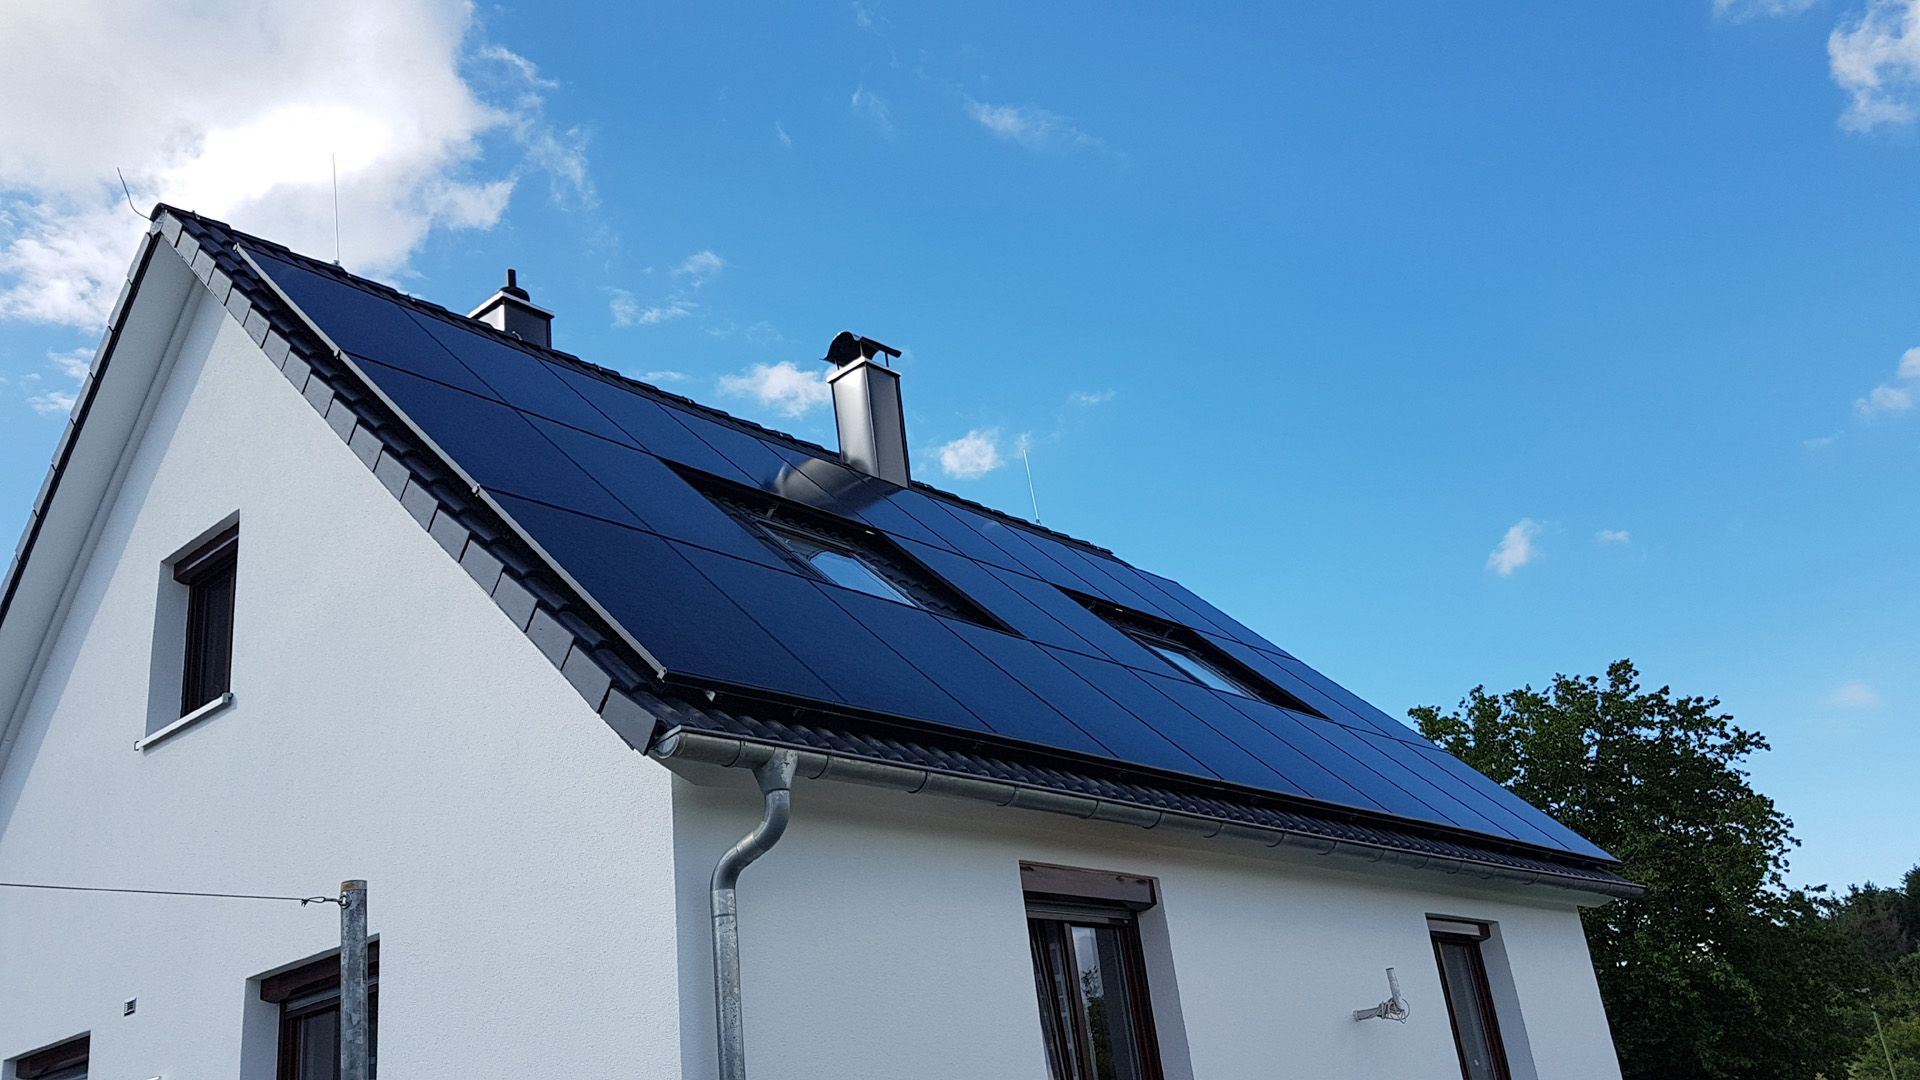
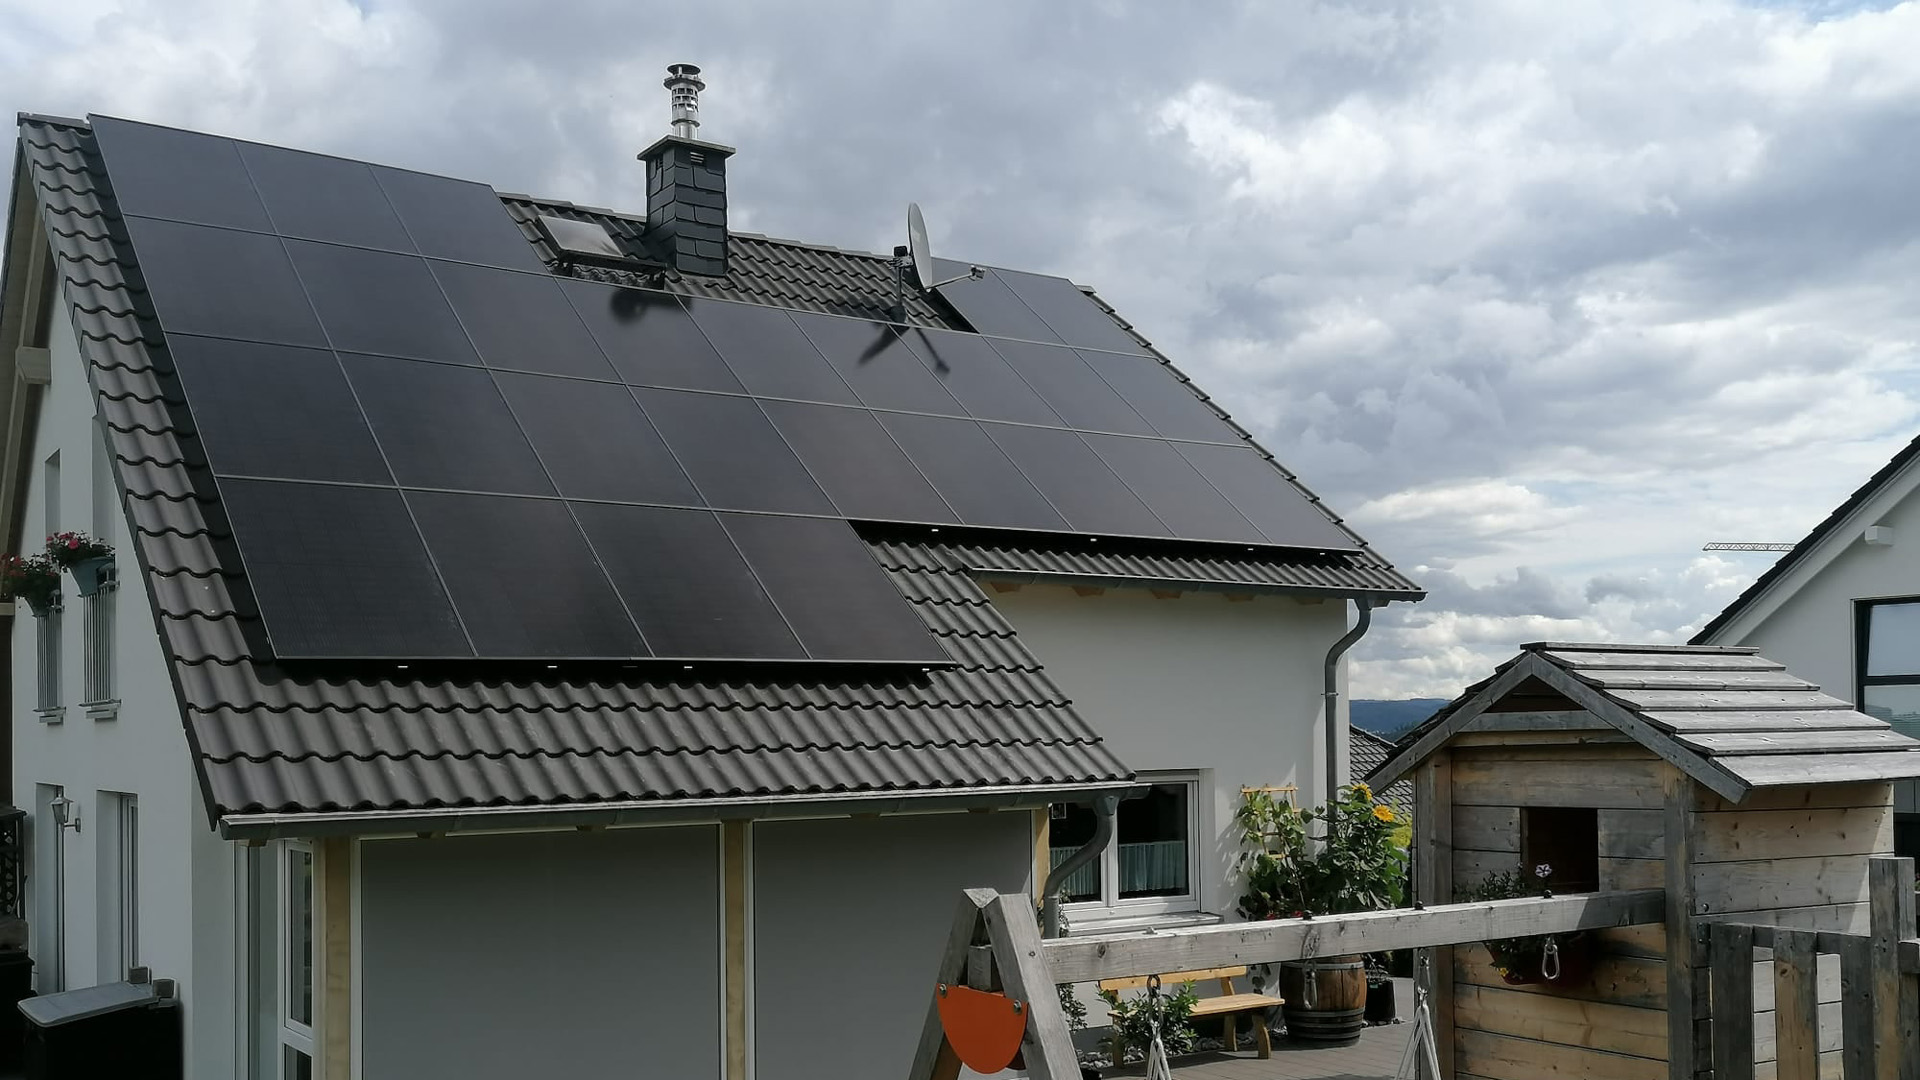
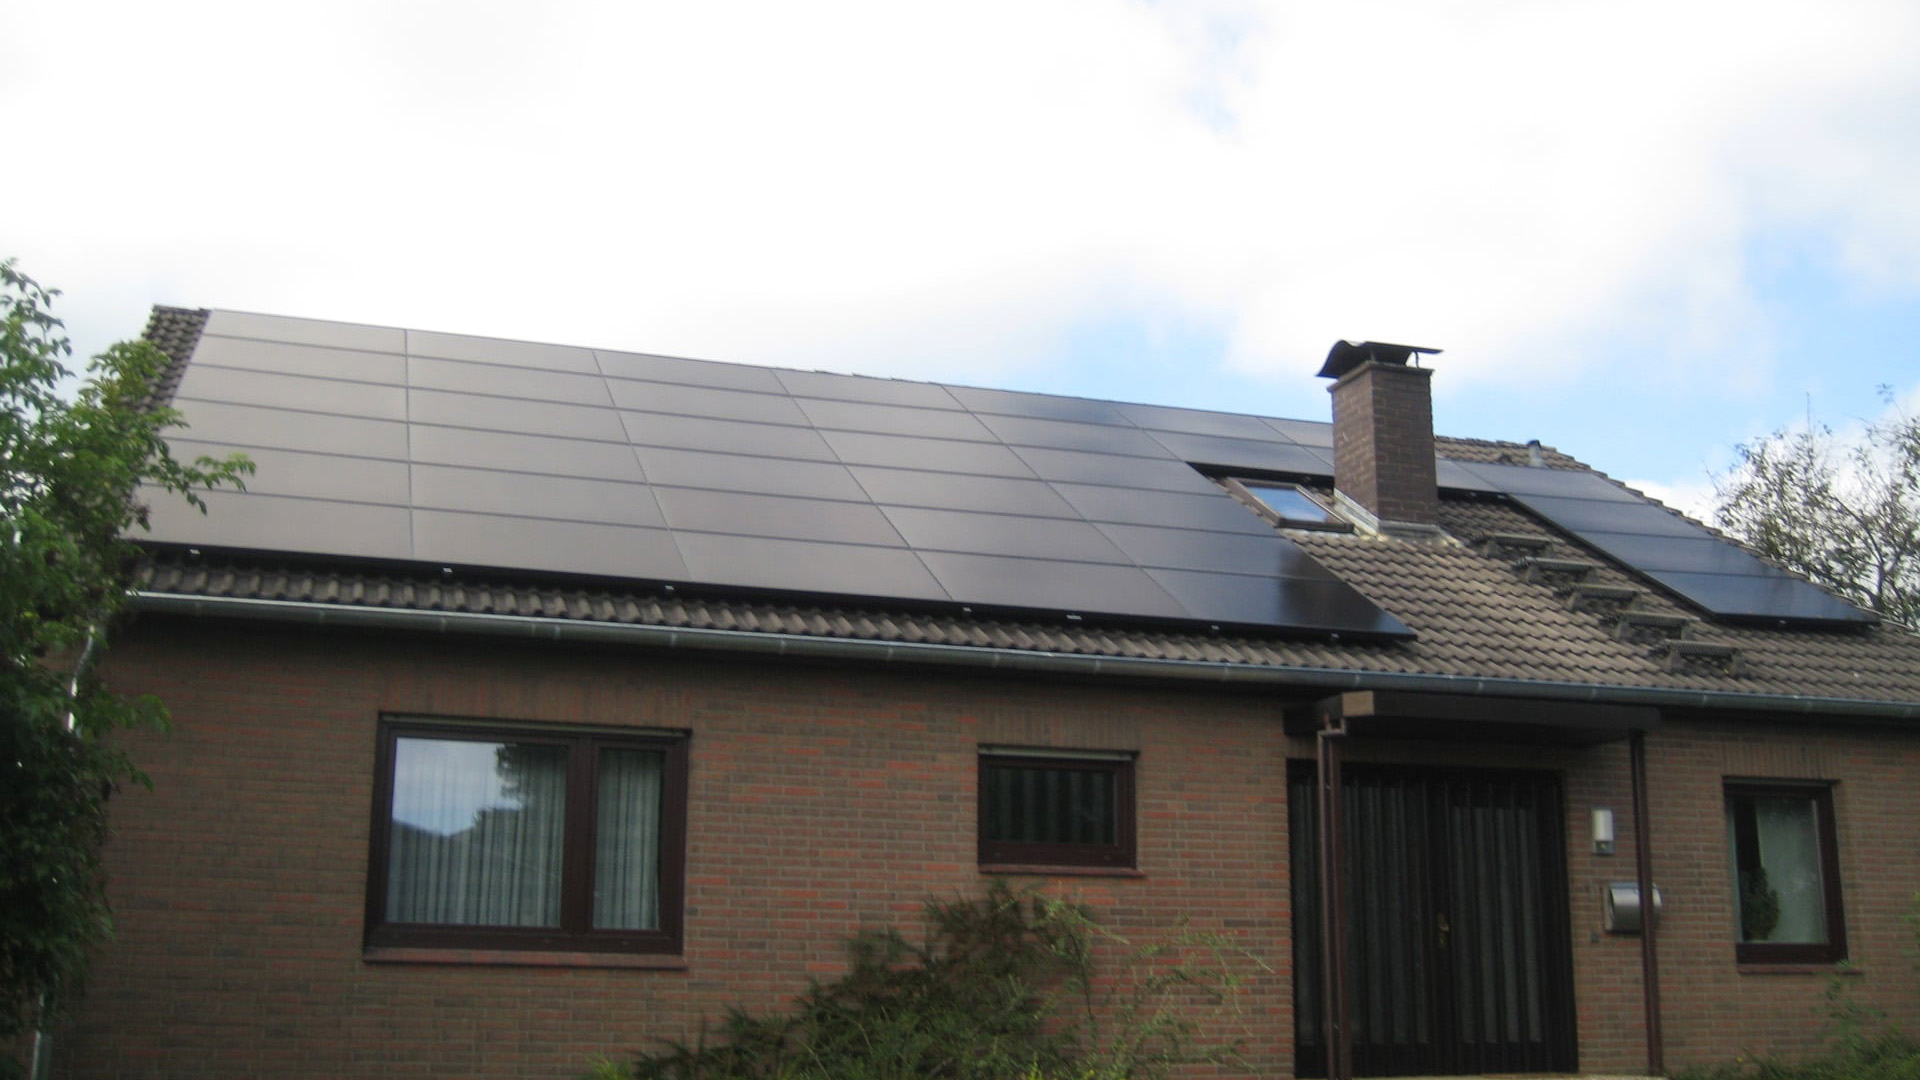
TRI-STAND Tile Roofs: PV for maximum aesthetics and efficiency
The TRI-STAND PV for tile roofs offers a custom-fit solution for photovoltaic installation that requires fewer components and is intuitive to use. This significantly simplifies and speeds up the installation process. Compared to conventional systems, TRI-STAND delivers significant time savings— TRI-STAND on commercial roofs—making professional installation processes more efficient.
You already have a current project? You can sendus your project enquiryhere.
The advantages of TRI-STAND
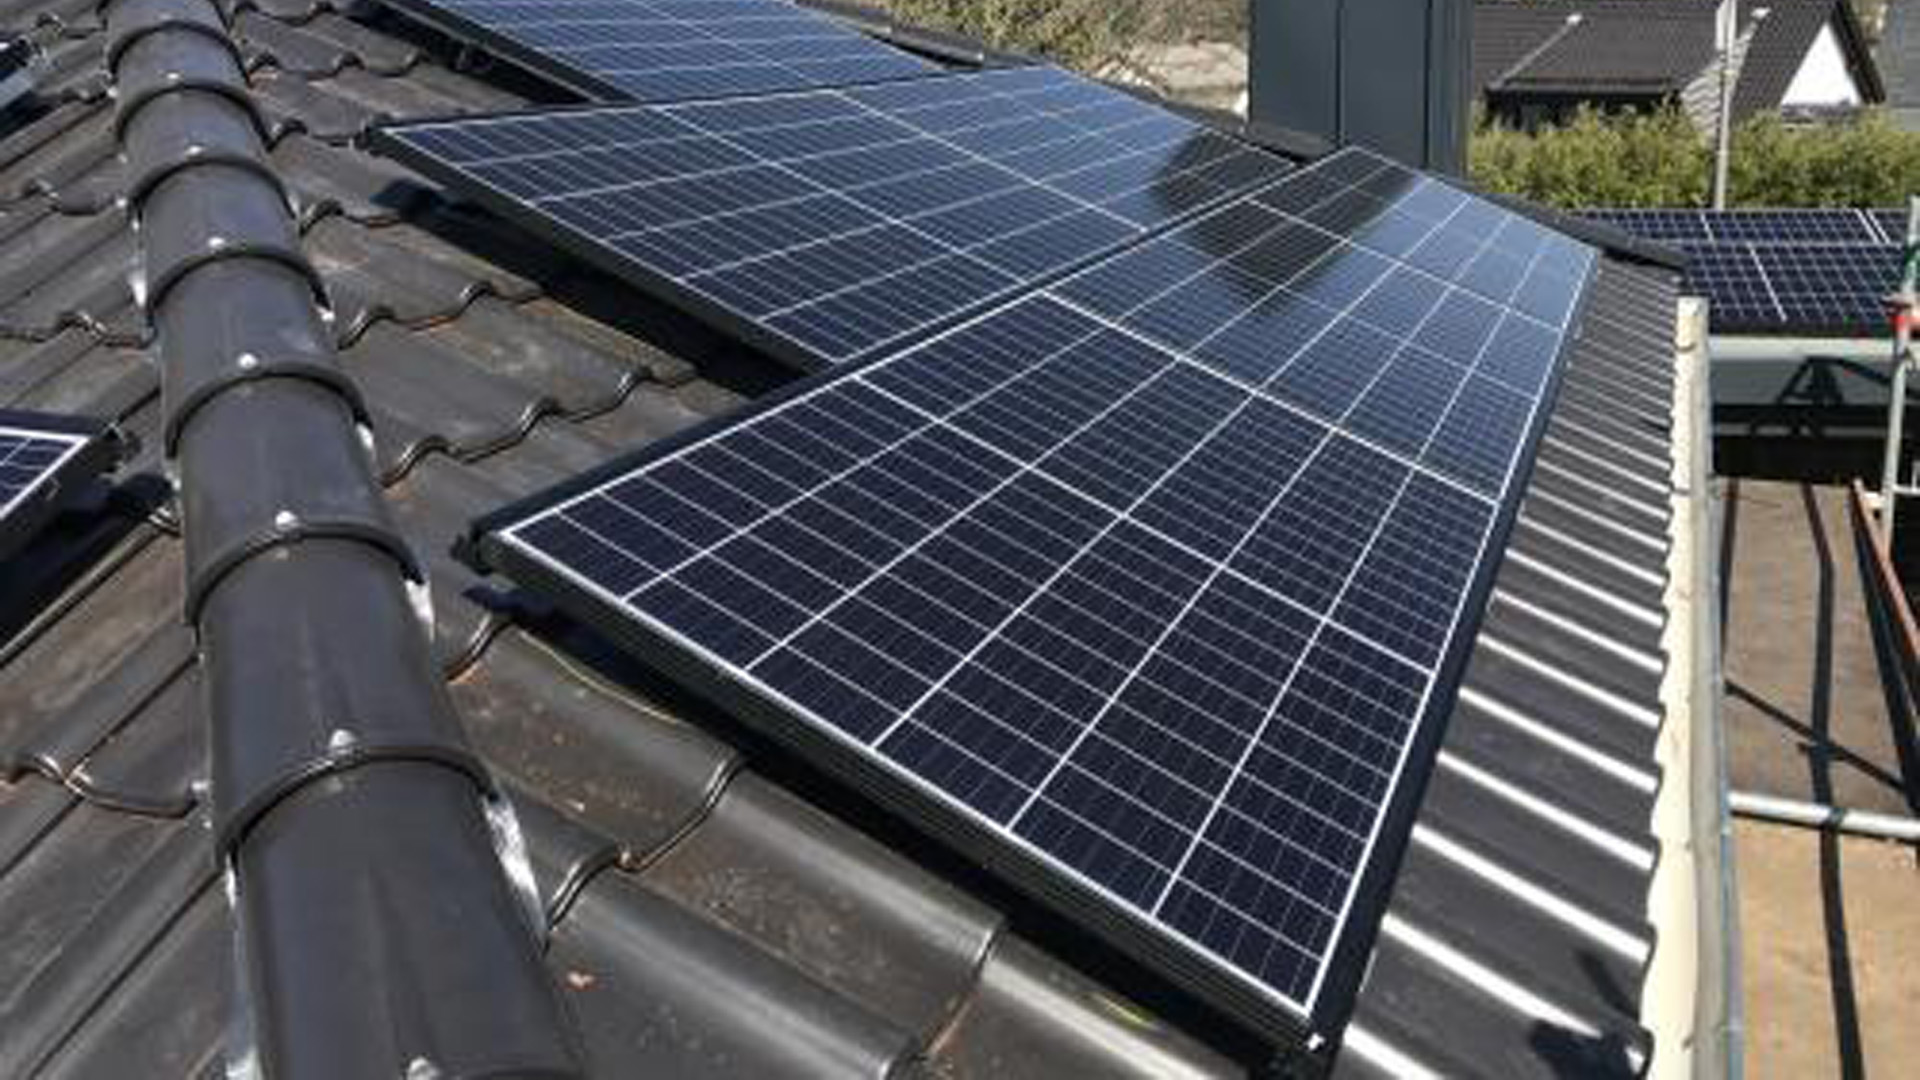
Photovoltaic installation on tiled roof

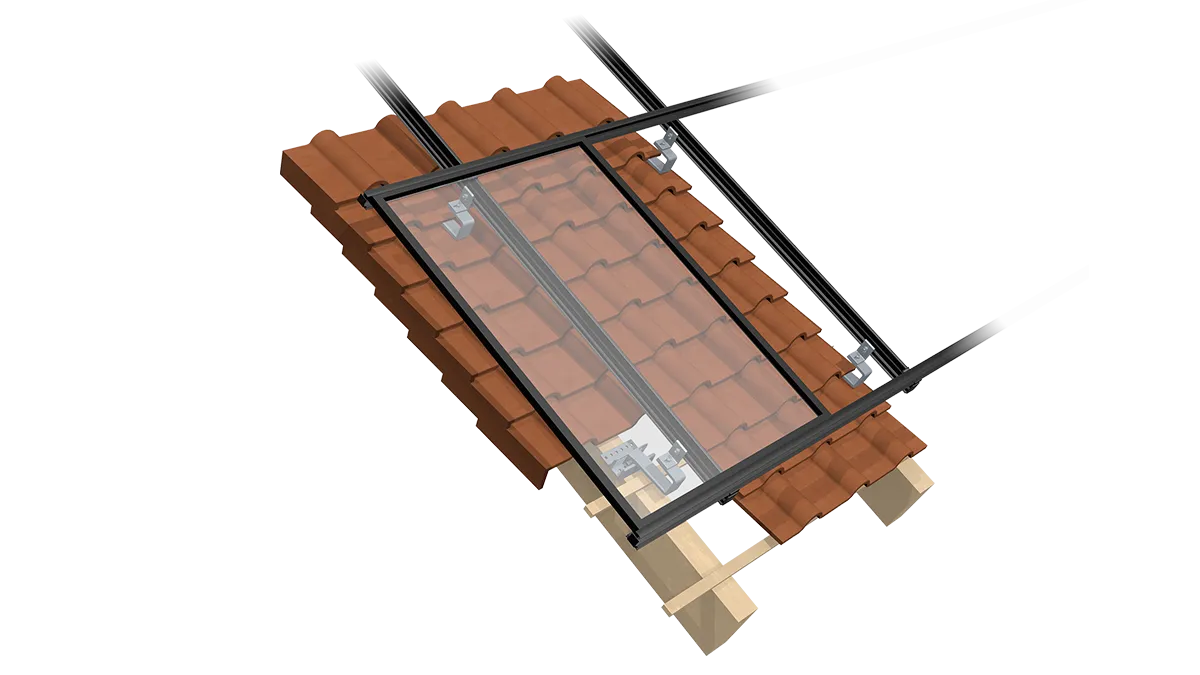
1. mounting the roof hook
After checking the substructure of the roof for its point load-bearing capacity, the roof hooks are installed in accordance with the design plan.

2. mounting the base profile
The pre-assembled profiles are then securely installed on the roof hooks.

3. click in the insertion profiles
The insertion profiles are clicked into the SafeClick - they are thus connected to the roof in a floating manner. Damage to the roof and module caused by thermal expansion is thus avoided.

4. insert modules
The modules are inserted into the profiles in a time-saving manner; additional fastening of the modules is completely unnecessary.
Efficient assembly and well-thought-out design
Thanks to smart planning software, a reduced number of components, and the patented SafeClick mounting system, the PV for pitched tile roofs can be installed extremely quickly, safely, and easily. The SafeClick system guarantees a secure, long-lasting hold for solar systems, making it ideal for installation on tile roofs.
The high-quality PRO roof hook provides the foundation for a flexible and reliable installation. It features versatile screw-in options, a height-adjustable base plate in 5-mm increments, a flexible mounting bracket for precise horizontal and vertical adjustment, and easy installation. The insert profiles connect efficiently with the TRI-STAND connectors, which are simply slid into place and secured with grub screws.
The PV are simply placed into the mounting profiles and are securely held in place by their own weight; no additional fastening is required. The floating mounting system prevents damage to the roof, mounting system, and modules caused by thermal expansion. At the same time, it ensures an aesthetically seamless array of modules, since no thermal break is necessary. The system also allows the modules to be mounted either vertically or horizontally, opening up a wide range of design options for customized roof concepts.
Safe, Sustainable, and Made in Europe
The components for our PV are manufactured in Central Europe to the highest quality standards; the components of TRI-STAND have been statically tested and optimized for wind and snow loads to ensure reliability even under extreme weather conditions. All profiles and accessories TRI-STAND under the original TRI-STAND label are covered by a 10-year manufacturer’s warranty from the date of delivery. This warranty covers both the sound condition and the technical performance of the products.
TRI-STAND Assembly Video
You are currently viewing placeholder content from YouTube. To access the actual content, click the button below. Please note that doing so will result in data being shared with third-party providers.
More InformationYou are currently viewing placeholder content from YouTube. To access the actual content, click the button below. Please note that doing so will result in data being shared with third-party providers.
More InformationTRI-STAND
Roof hook
With the TRI-STAND BASIC, PLUS, PRO and PRO PLUS photovoltaic roof hooks, you can mount solar systems optimally on a tiled roof. The roof hooks are made of hardened aluminum and have several base holes for maximum mounting flexibility.